API Testing Flow
PostQode provides a comprehensive API testing workflow that guides you through the entire testing lifecycle - from importing or creating API collections to executing tests and analyzing results. This guide walks you through the complete API testing flow.
Overview of API Testing Workflow
The API testing flow in PostQode follows a structured approach:
1. Collections → 2. Test Suites → 3. Test Cases → 4. Requests → 5. Execution → 6. Reports
Each stage builds upon the previous one, creating a robust and maintainable testing framework.
Stage 1: Collections
Collections are the foundation of your API testing workflow. They organize related API endpoints and serve as the basis for test suite generation.
Creating or Importing Collections

Options:
- Import from Postman - Bring existing Postman collections
- Import from OpenAPI/Swagger - Use API specifications
- Create manually - Build collections from scratch
- Import from cURL - Convert cURL commands to requests
Collection Organization
Organize your collections by:
- Service/Microservice - Group by backend service
- Feature - Organize by application feature
- Version - Separate by API version
- Environment - Distinguish between dev, staging, prod
Best Practices:
- ✅ Use descriptive collection names
- ✅ Add detailed descriptions
- ✅ Include authentication details
- ✅ Document base URLs and common headers
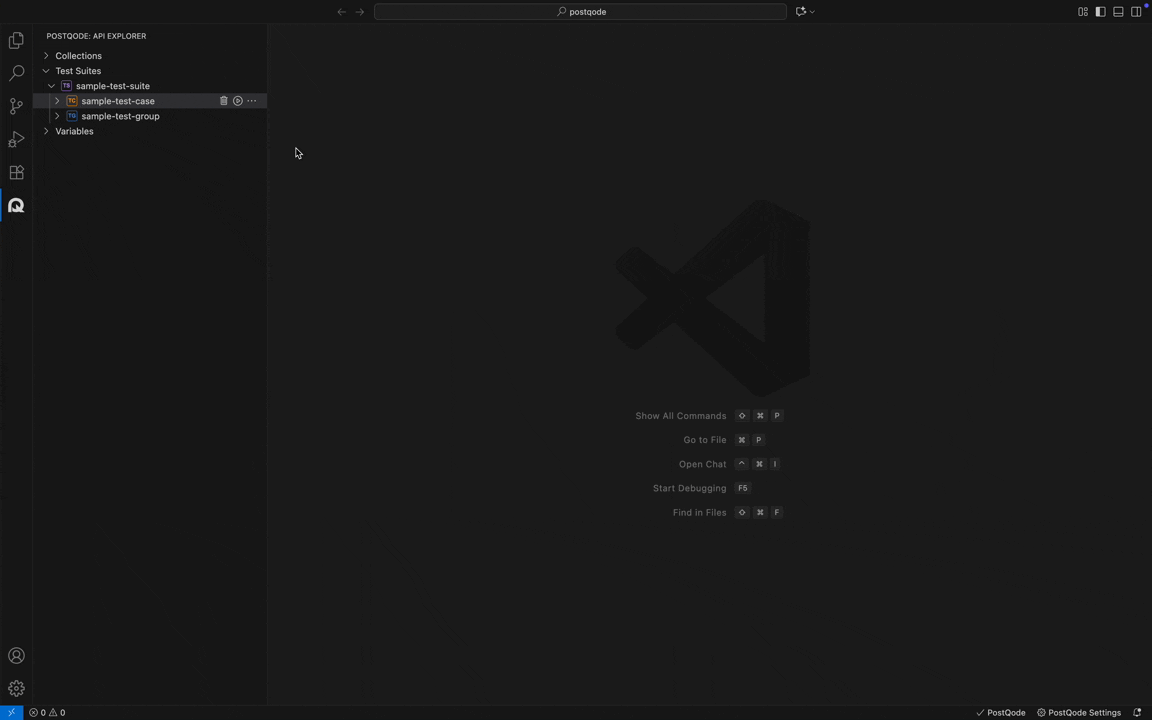
Stage 2: Test Suites
Test Suites group related test cases together for organized and efficient testing.
Creating Test Suites

Step 1: Navigate to your workspace Step 2: Click on "Create Test Suite" Step 3: Provide name and description Step 4: Configure suite settings
Test Suite Organization
Structure your test suites by:
- Functionality - Login, Registration, Checkout
- Priority - Critical, High, Medium, Low
- Test Type - Smoke, Regression, Integration
- User Journey - End-to-end workflows
Test Suite Configuration
Configure essential settings:
- Execution Order - Sequential or parallel
- Retry Logic - Number of retries for failed tests
- Timeouts - Suite, test, and request timeouts
- Error Handling - Stop on error or continue
- Environment - Select target environment
Stage 3: Test Cases
Test Cases represent individual test scenarios with specific validations and expected outcomes.
Creating Test Cases

Step 1: Select a test suite Step 2: Click "Create Test Case" Step 3: Define test case details:
- Name and description
- Test data requirements
- Expected outcomes
- Assertions and validations
Test Case Types
PostQode supports various test case types:
1. Positive Test Cases
Verify that APIs work correctly with valid inputs:
- Valid authentication credentials
- Correct request parameters
- Expected data formats
- Successful response codes (200, 201, 204)
2. Negative Test Cases
Ensure proper error handling with invalid inputs:
- Invalid authentication
- Missing required parameters
- Incorrect data types
- Expected error codes (400, 401, 403, 404, 500)
3. Boundary Test Cases
Test edge cases and limits:
- Minimum and maximum values
- Empty strings and null values
- Very large payloads
- Special characters
4. Integration Test Cases
Verify interactions between multiple APIs:
- Multi-step workflows
- Data dependencies between requests
- State management across calls
- Transaction rollback scenarios
Test Case Components
Each test case includes:
Pre-Request Scripts
Execute before the request:
// Set dynamic variables
pq.variables.set("timestamp", Date.now());

// Generate test data
pq.variables.set("testEmail", `test${Date.now()}@example.com`);

// Prepare authentication
const token = pq.variables.get("authToken");
pq.request.headers.set("Authorization", `Bearer ${token}`);
Request Configuration
- HTTP method (GET, POST, PUT, DELETE, PATCH)
- Endpoint URL with path parameters
- Headers and authentication
- Request body (JSON, XML, form-data)
- Query parameters
Test Scripts
Execute after the request:
// Status code validation
pq.test("Status code is 200", () => {
  pq.expect(pq.response.code).to.equal(200);
});

// Response body validation
pq.test("Response contains user data", () => {
  const body = pq.response.json();
  pq.expect(body).to.have.property("userId");
  pq.expect(body.email).to.be.a("string");
});

// Extract data for next request
const userId = pq.response.json().userId;
pq.variables.set("userId", userId);
Assertions
Define expected outcomes:
- Status code assertions
- Response time assertions
- Header validations
- Body structure checks
- Data type validations
- Business logic verifications
Stage 4: Requests
Requests are the individual API calls within test cases.
Request Structure
HTTP Methods
- GET - Retrieve data
- POST - Create new resources
- PUT - Update entire resources
- PATCH - Partial updates
- DELETE - Remove resources
- HEAD - Get headers only
- OPTIONS - Check available methods
Request Components
URL Configuration:
{{baseUrl}}/api/v1/users/{{userId}}/profile
Headers:
Content-Type: application/json
Authorization: Bearer {{authToken}}
Accept: application/json
X-Request-ID: {{requestId}}
Body (for POST/PUT/PATCH):
{
  "firstName": "{{firstName}}",
  "lastName": "{{lastName}}",
  "email": "{{email}}",
  "age": {{age}}
}
Query Parameters:
?page={{page}}&limit={{limit}}&sort={{sortField}}
Request Chaining
Link requests together for complex workflows:
Example: User Registration Flow
- Request 1: Register user → Extract userId
- Request 2: Verify email → Extract verification token
- Request 3: Activate account → Extract auth token
- Request 4: Get user profile → Validate data
// Request 1: Register
// Test Script:
const userId = pq.response.json().userId;
pq.variables.set("userId", userId);

// Request 2: Verify (uses userId from Request 1)
// URL: /api/users/{{userId}}/verify
Stage 5: Hooks
Hooks provide setup and teardown capabilities for test suites and test cases.
Hook Types
Before All (beforeAll)
Executes once before all test cases:
// Setup test environment
pq.variables.set("testRunId", Date.now());

// Create test data
// Authenticate admin user
Use Cases:
- Environment setup
- Test data creation
- Authentication token generation
- Database initialization
Before Each (beforeEach)
Executes before each test case:
// Reset state
pq.variables.set("testStartTime", Date.now());

// Create fresh test data
// Clear cache
Use Cases:
- Test isolation
- Fresh data for each test
- State reset
- Pre-test validations
After Each (afterEach)
Executes after each test case:
// Cleanup test data
const userId = pq.variables.get("userId");
// Delete created user

// Log test results
console.log(`Test completed in ${Date.now() - pq.variables.get("testStartTime")}ms`);
Use Cases:
- Resource cleanup
- Data deletion
- State reset
- Test metrics collection
After All (afterAll)
Executes once after all test cases:
// Final cleanup
// Generate summary report
// Close connections
Use Cases:
- Final cleanup
- Report generation
- Resource deallocation
- Environment teardown
Stage 6: Datasets
Datasets enable data-driven testing by executing test cases with multiple data sets.
Creating Datasets
Supported Formats:
- CSV - Comma-separated values
- JSON - Structured JSON data
Dataset Structure
CSV Example:
email,password,expectedStatus
[email protected],ValidPass123,200
invalid@example,ValidPass123,400
[email protected],short,400
JSON Example:
[
  {
    "email": "[email protected]",
    "password": "ValidPass123",
    "expectedStatus": 200
  },
  {
    "email": "invalid@example",
    "password": "ValidPass123",
    "expectedStatus": 400
  }
]
Using Dataset Variables
Reference dataset values in your requests:
// In request body
{
  "email": "{{email}}",
  "password": "{{password}}"
}

// In test script
pq.test("Status matches expected", () => {
  pq.expect(pq.response.code).to.equal({{expectedStatus}});
});
Stage 7: Execution
Execute your test suites and test cases to validate API functionality.
Execution Options
Manual Execution
Run tests on-demand:
- Single test case execution
- Test suite execution
- Selective test execution
Scheduled Execution
Automate test runs:
- Daily regression tests
- Hourly smoke tests
- Pre-deployment validation
CI/CD Integration
Integrate with pipelines:
# Using PostQode CLI
postqode run --suite "Regression Suite" --env production
Execution Configuration
Run Configuration Settings:
- Environment - Select target environment
- Variables - Override environment variables
- Parallel Execution - Run tests concurrently
- Retry Logic - Configure retry attempts
- Timeout Settings - Set execution limits
Execution Flow
1. Load Test Suite
   ↓
2. Execute beforeAll Hook
   ↓
3. For Each Test Case:
   ├── Execute beforeEach Hook
   ├── Run Pre-Request Script
   ├── Send API Request
   ├── Run Test Script
   ├── Validate Assertions
   ├── Execute afterEach Hook
   ↓
4. Execute afterAll Hook
   ↓
5. Generate Report
Stage 8: Results & Reporting
Analyze test execution results and generate comprehensive reports.
Execution Results

Result Components:
- Pass/Fail Status - Overall test outcome
- Execution Time - Duration of test run
- Request/Response Details - Full API interaction logs
- Assertion Results - Individual assertion outcomes
- Error Messages - Detailed failure information
- Performance Metrics - Response times and throughput
Report Types
Summary Report
High-level overview:
- Total tests executed
- Pass/fail counts
- Success rate percentage
- Total execution time
- Environment details
Detailed Report
Comprehensive information:
- Individual test case results
- Request/response logs
- Assertion details
- Error stack traces
- Performance metrics
- Screenshots (for UI tests)
HTML Reports
Visual, shareable reports:
postqode run --suite "API Tests" --report html
Features:
- Interactive charts and graphs
- Filterable test results
- Expandable request/response details
- Export capabilities
Execution History
Track test runs over time:
- Execution Timestamps - When tests ran
- Trend Analysis - Pass/fail trends
- Performance Tracking - Response time trends
- Flaky Test Detection - Inconsistent test identification
- Comparison - Compare runs side-by-side
Complete Workflow Example
Scenario: E-commerce User Journey
Step 1: Create Collection
Collection: E-commerce API
├── Authentication
├── User Management
├── Product Catalog
├── Shopping Cart
└── Orders
Step 2: Create Test Suite
Test Suite: User Purchase Flow
Description: End-to-end user journey from registration to order placement
Step 3: Create Test Cases
Test Cases:
1. User Registration
2. User Login
3. Browse Products
4. Add to Cart
5. Update Cart Quantity
6. Checkout
7. Place Order
8. Verify Order
Step 4: Configure Hooks
// beforeAll: Setup test environment
// beforeEach: Create fresh session
// afterEach: Clear cart
// afterAll: Cleanup test data
Step 5: Add Dataset
userType,email,expectedDiscount
regular,[email protected],0
premium,[email protected],10
vip,[email protected],20
Step 6: Execute Tests
Run Configuration: Staging Environment
Execution Mode: Sequential
Retry: 2 attempts
Step 7: Analyze Results
Results:
✅ 8/8 tests passed
⏱️ Total time: 45 seconds
📊 Average response time: 250ms
Best Practices
Test Organization
- ✅ Group related tests in suites
- ✅ Use descriptive names
- ✅ Maintain test independence
- ✅ Follow naming conventions
Test Data Management
- ✅ Use variables for dynamic data
- ✅ Leverage datasets for data-driven tests
- ✅ Clean up test data after execution
- ✅ Avoid hardcoded values
Assertions
- ✅ Write clear, specific assertions
- ✅ Test both positive and negative scenarios
- ✅ Validate response structure
- ✅ Check business logic
Maintenance
- ✅ Keep tests up-to-date with API changes
- ✅ Remove obsolete tests
- ✅ Refactor duplicate code
- ✅ Document complex test logic
Performance
- ✅ Use parallel execution when possible
- ✅ Optimize test data size
- ✅ Set appropriate timeouts
- ✅ Monitor test execution times
Troubleshooting
Common Issues
Test Failures
Symptoms: Tests fail unexpectedly Solutions:
- Check API endpoint availability
- Verify authentication tokens
- Validate request parameters
- Review assertion logic
Timeout Errors
Symptoms: Tests timeout before completion Solutions:
- Increase timeout settings
- Check network connectivity
- Optimize API performance
- Review server logs
Data Issues
Symptoms: Tests fail due to data problems Solutions:
- Verify dataset format
- Check variable references
- Validate data types
- Review data dependencies
Environment Issues
Symptoms: Tests work in one environment but not another Solutions:
- Verify environment configuration
- Check environment variables
- Validate base URLs
- Review environment-specific settings
Next Steps
- Learn about Collections
- Create Test Suites
- Manage Test Cases
- Work with Variables
- Use API Agent for automated test generation
Additional Resources
- Video Tutorial: Complete API Testing Workflow
- Community: Join our Discord for support
- Examples: Sample test suites
Need Help? If you encounter issues with API testing, visit our troubleshooting guide or reach out on Discord.