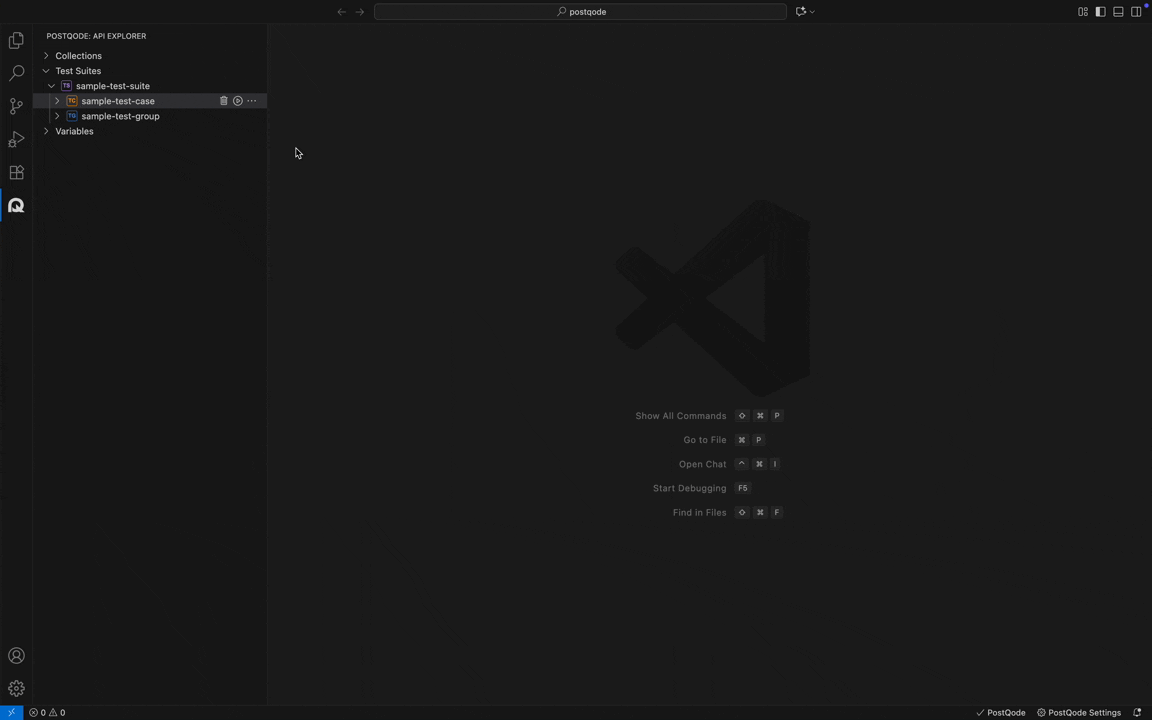
Manage Test Case
Click on the more options menu (⋯) near Test Case and click on Edit Test Case option from the actions menu.
The Edit Test Case option contains the following options:
- Overview
- Dataset
- Settings
Overview
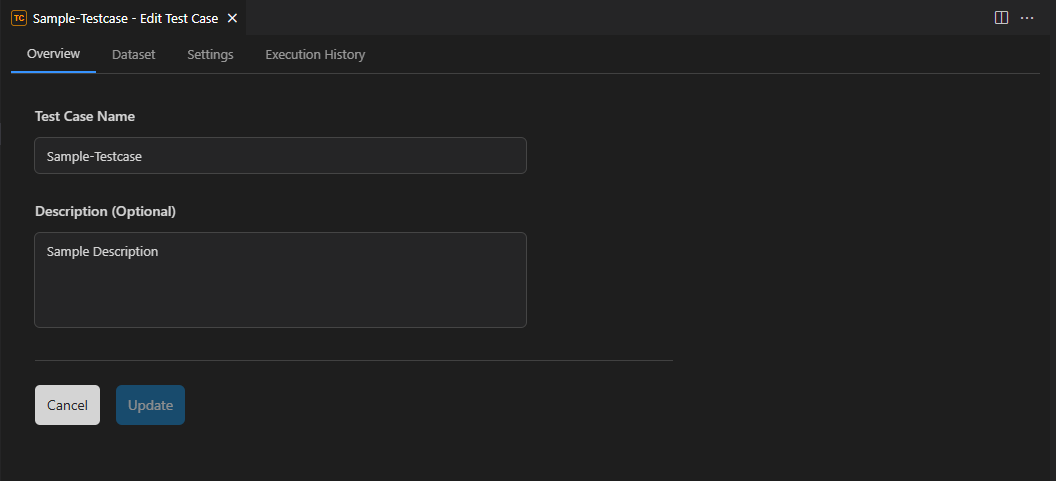
Users can update the name and description of the corresponding Test Case here.
Datasets
Datasets are a powerful feature that enables data-driven testing by executing test cases with multiple sets of test data. They provide flexibility for creating environment-specific datasets. PostQode supports importing test data from CSV files and JSON files, making test automation more efficient and maintainable.
Adding a Dataset
- Step 1: Click on the Dataset tab from the Edit Test Case window.
- Step 2: Click on Select Dataset File button.
- Step 3: Select a CSV/JSON formatted dataset file from the file explorer window.
- Step 4: Click on Select File button.
To link a new dataset, please remove the existing dataset first.
Settings
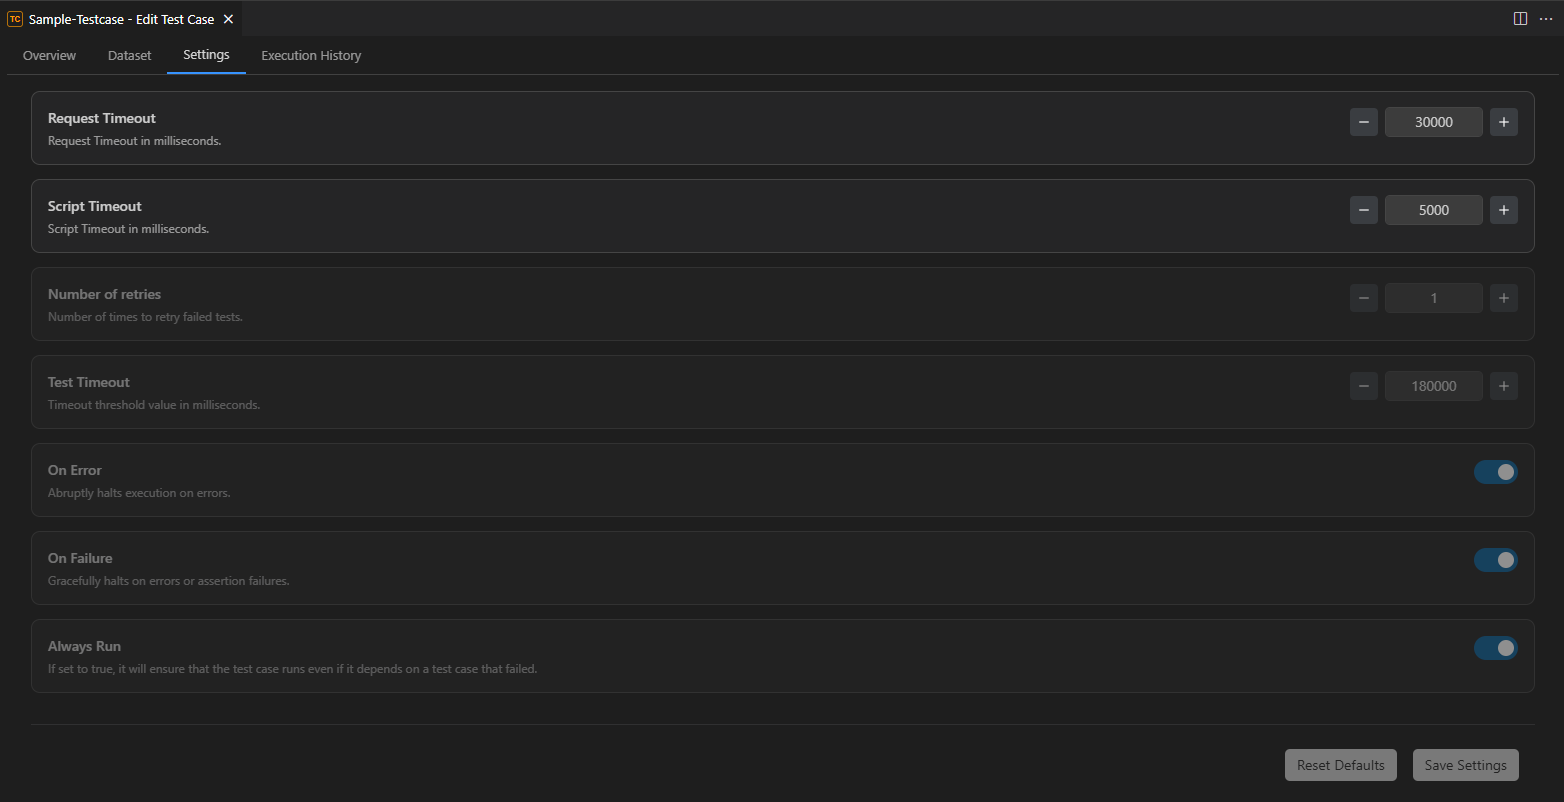
The Settings section allows you to configure test case-specific settings and preferences, including:
- Number of retries : Number of times to retry failed tests.
- Test Timeout : Test Timeout is the maximum time allowed for a single test (request + test script) to complete. If it exceeds this limit, that test case fails due to timeout.
- Request Timeout : Request Timeout in PostQode is the maximum time PostQode waits for a server to respond before stopping the request and showing an error.
- Script Timeout : Script Timeout in PostQode defines the maximum time allowed for pre-request or test scripts to execute.
- On Error : Abruptly halts execution on errors.
- On Failure : Gracefully halts on errors or assertion failures.
- Always Run : If set to true, it will ensure that the test case runs even if it depends on a test case that failed.
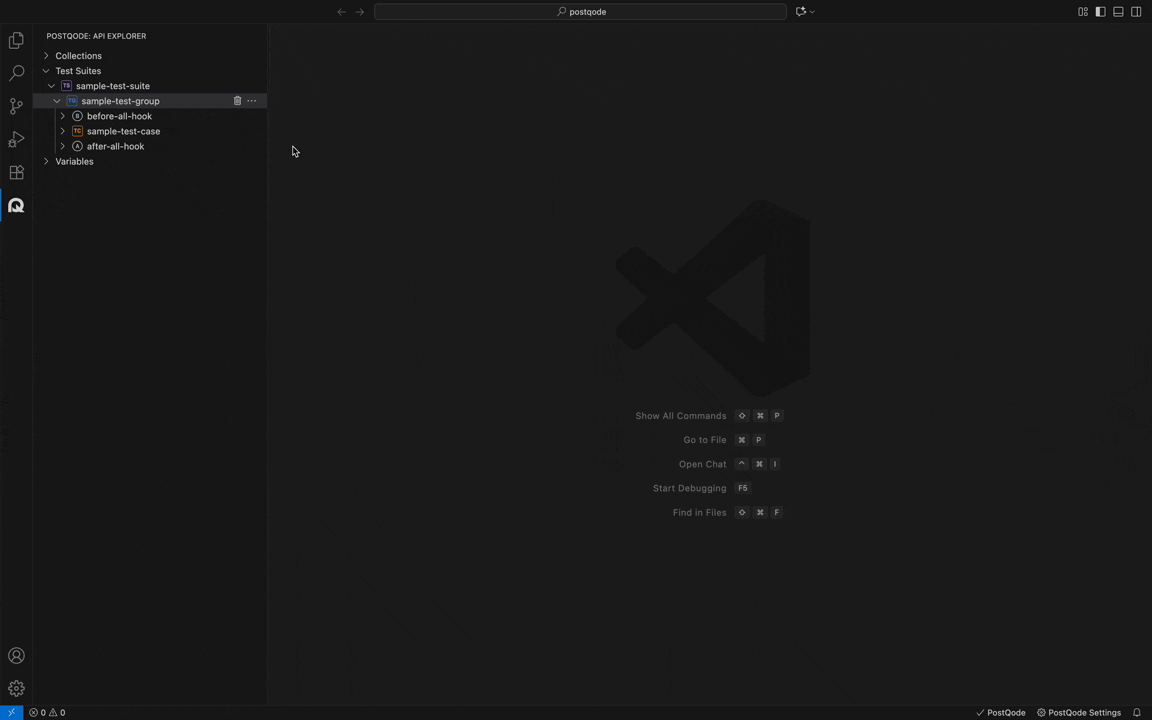
Organizing Test Cases
Users can organize Test Cases inside Test Suite Groups. Users can also drag and drop Test Cases across groups.
Follow these steps to create a Group inside a Test Suite:
-
Step 1: Click on the more options menu (⋯) in the corresponding Test Suite or Group where you need to create the Group.
-
Step 2: Click on the Create Group option from the action menu.
-
Step 3: Fill in the Group name in the Action Menu input and click the Enter button.
Clone Test Case
-
Step 1: Click on the more options menu (⋯) next to the test case you want to clone and select 'Clone Test Case' from the options that appear in the action menu.
-
Step 2: Wait for the cloning process to complete. The cloned Test Case will appear with a suffix of 'Copy' added to the original test case's name.
-
Step 3: Customize and edit this cloned test case according to your preferences.
Disable Test Case
-
Step 1: When you want to disable a Test Case, click on the more options menu (⋯) next to the test case you want to disable and select "Disable Test Case" from the options that appear in the action menu.
-
Once the test case is disabled, it will no longer be accessible for any modifications.
Enable Test Case

Step 1: When you want to enable a disabled test case, click on the "Enable" button on the disabled Test Case.
Delete Test Case
Step 1: Click on the 'Delete' icon next to the test case that needs to be removed and then click "Yes" from the options that appear to confirm the action. Once deleted, it will be removed and will no longer be accessible.